

Sparkling Wine and Flower Arranging like a Pro
One of my favorite ways to celebrate is with sparkling wine and flowers. Like wine, flowers have the power to convey emotions and create a vibrant atmosphere. Together they can be a thoughtful gift, or the makings of a memorable night with your girlfriends, making arrangements and popping open your favorite bottle of bubbles.
I have always had a passion for wine and flowers. Before I was winemaking and running CARBONISTE, I took a brief hiatus from winemaking and tried my hand as a florist. There I had the unique experience of creating floral arrangements for Thomas Keller restaurants and other prominent locations in the Napa Valley. I got to see the inner workings of some of the world’s greatest restaurants and witnessed the profound impact wine and flowers can have in crafting a memorable experience and transforming the ambiance of a space. A thoughtfully arranged bouquet has the power to revitalize a room, while a skillfully crafted glass of sparkling bubbles establishes the perfect mood.
Creating a beautiful bouquet does not have to be hard. Creating an arrangement that makes a statement can be as easy as arranging the simple flowers from your garden or grocery store. In this blog post, I’ll share a step-by-step guide to creating a beautifully balanced flower arrangement as well as share some creative ideas and pro tips I learned in the trade. So pop open a bottle. Let’s get started!
Getting Started with Your Flower Arrangement
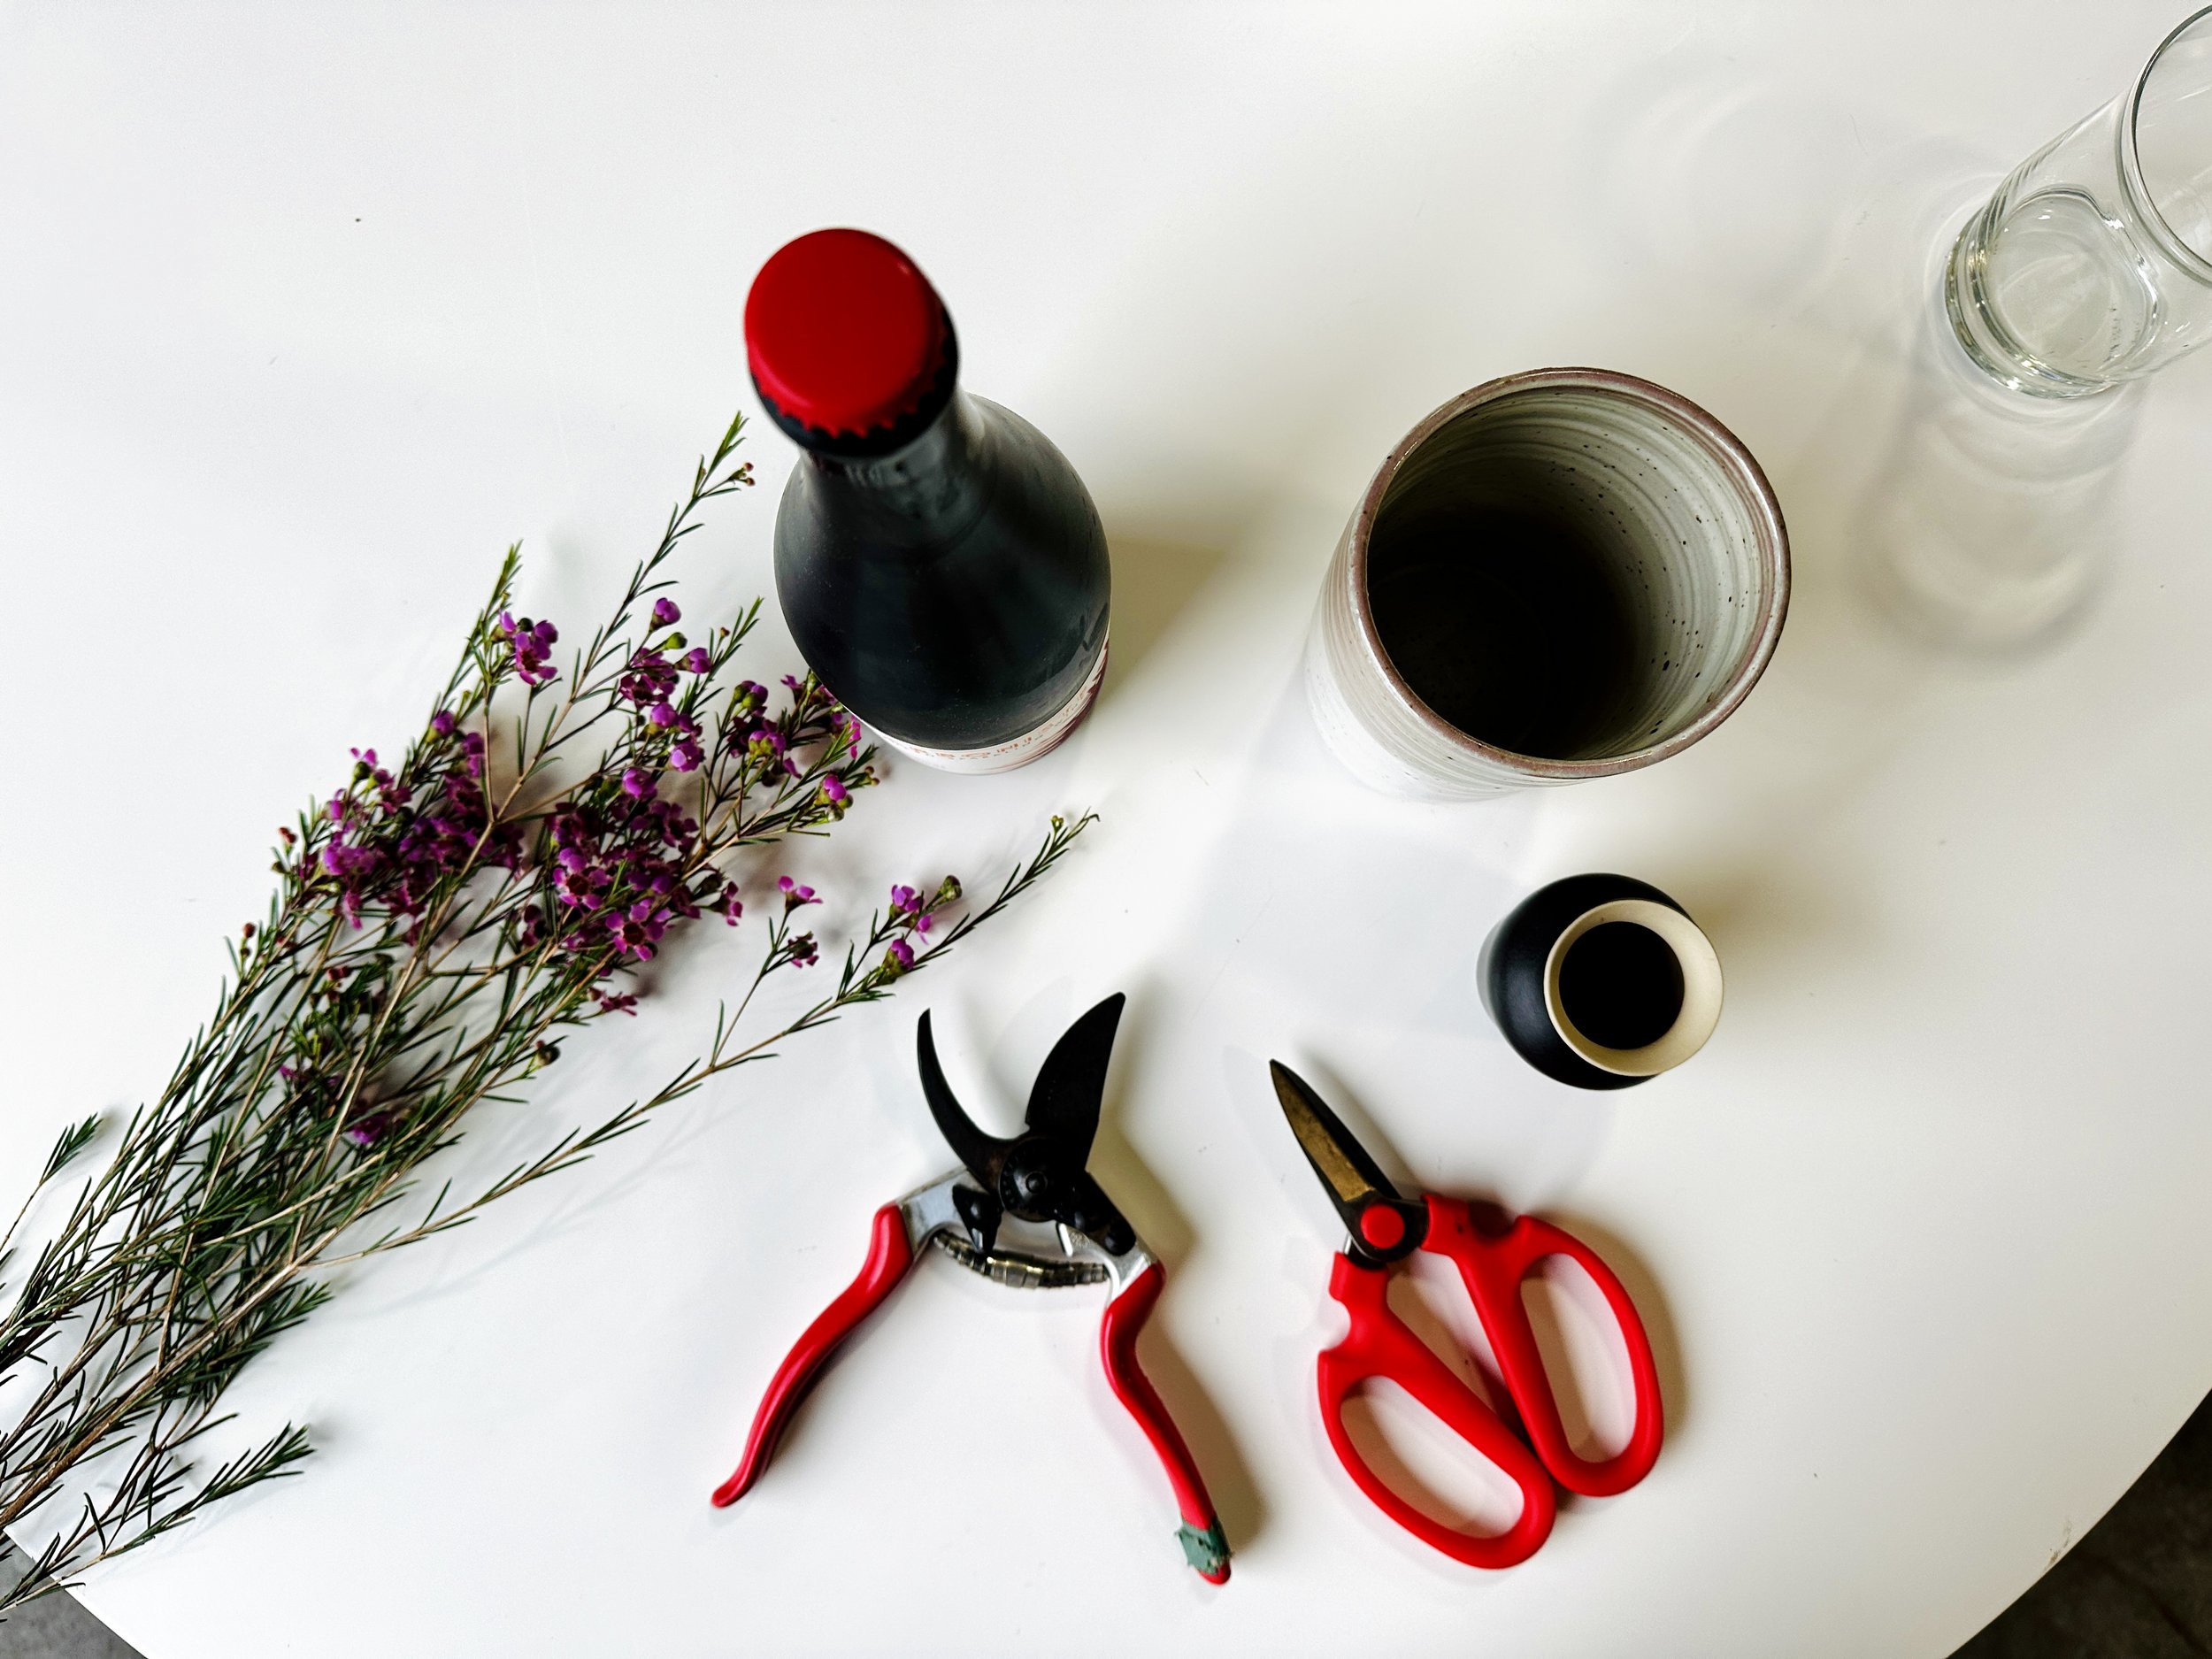
Tools and Supplies
garden shears
a pretty vase for your arrangement
flowers (I love to shop at Trader Joes for the best quality and price)
a bottle of your favorite sparkling wine and glasses (I chose our Sea Urchin Sparkling Rosé for it’s color and bright character)
Choosing Your Vase
Many people think the flowers are your first step in creating arrangements, but I always like to start at the base (the vase) and work my way up. The vase holds everything together and sets the tone of your arrangement. You must consider the placement and the purpose of your arrangement when choosing your vase. I ask myself the following questions:
What is my arrangement for?
Where will my arrangement be displayed?
What size do I want my arrangement?
These three questions are pretty crucial and are the ultimate deciding factors for all of your future creative choices while making your bouquet. For example: If the arrangement is for a table centerpiece that will elevate the atmosphere during a meal, you will want to create a shorter arrangement that allows your guests to see each other across the table. For this scenario, you will want to choose a shorter vase and create an arrangement with shorter stems. If your arrangement is a gift to impress and will be displayed on an entry or side table then you can choose a vase and flowers with more height. You ultimately want your flower arrangement to be the perfect fit and a little bit of planning will help make that happen.
*Pro Tip: If you are designing an arrangement for a centerpiece at a table a good measurement trick is to make sure your arrangement is not taller than your forearm when it’s propped up on the table. For most of us that is about 10 to 12” tall.

Choosing your Flowers
Once you have decided on your vase and overall purpose for your bouquet then you get to move on to the fun part: the flowers! The flowers are the life breath of your bouquet and direct the whole aesthetic with their shape, color, style, and textures. I like to choose my flowers like a casting director and think about my star, my supporting characters, and my stand-ins.
First, The Star of the Show
Your bouquet is a show, and the star flower is your first pick. The show-stopping star flower is the flower that draws the eye, makes a statement, and is the aspect of the bouquet that makes or breaks it. The star flower can stand out in color, shape, or style. I always like to choose a flower that is just a bit different and unexpected. It is also fun to consider the symbolism and meaning of the flower. For our blog today, I chose a stunning protea flower that reminded me of a sea urchin and our Sea Urchin Sparkling Rosé.
Second, The Supporting Characters
A star shines brighter with supporting characters and here is where your genius creative style plays a part. While choosing your supporting character flowers think about how their colors, shapes, styles, and textures complement your star flower. Although they are not the star of the show, they make up the bulk of your bouquet and are the deciding elements for the size and style. I like to think of the supporting flowers as the starry sky that points to the star. Without them, your star wouldn’t shine as bright.
Generally, I like to choose flowers like daisies or tulips and think heavily about how their colors work together to build the bouquet. For our blog today, I chose some early spring tulips of orange and yellows to complement my protea flower.
*Pro Tip: Tulips will continue to grow after they are cut. When you are building a bouquet with tulips account for 2 inches of growth before cutting your stems.
Third, The Stand-Ins
Last but not least, you will want to choose your stand-ins or filler flowers and greenery. Filler flowers and greenery can vary depending on the style and purpose of your bouquet. I don’t like to overdue the filler flowers, but depending on your vase size and the purpose of your bouquet will determine how much filler you need. Like choosing your supporting characters, you want to consider color, size, shape, texture, and style while choosing your filler flowers. Also, keep scent in mind. Eucalyptus is a very popular filler choice but also has a very prominent scent that can change the whole experience of your bouquet. For today’s blog I chose a beautiful fushia heather as my stand-in and filler flower.
Building Your Flower Arrangement
After you have decided on the purpose of your bouquet, where it will be displayed, the vase, the aesthetic, and the flowers it’s finally time to start building! There are several shapes you can choose to build your arrangement, but my favorite is a round design so that you can view the arrangement from all sides.
Step 1: Prep Your Stems and Vase
Before you start building your bouquet you want to make sure you take the steps to make it last as long as possible. One of the fastest ways for bouquets to decay is to have leaves submerged in water. You want to strip your stems of excess leaves based on the height of your bouquet. Then you want to trim the bottom of your stems for maximum water absorption. You will do this by cutting your stems at a horizontal angle, shaving one side, and then splitting the steam long ways about an inch up from the bottom. You will want to do this for all of the flowers in your arrangement, including the filler flowers.
Pro Tip: Leave your stems long until you are ready to place them in the vase. You can always cut them shorter, but once you go too short, it’s too late.
Pro Tip: Fill your vase up with water before you start building your arrangement
Step 2: Start With Your Stand-Ins
When we build our arrangements the first flowers in our vase our our filler flowers. Measure how high you want your bouquet by measuring your stem from the table and cutting it to the height you want your bouquet. This will take some adjusting because you also want to consider the height of your vase as well. Often filler flowers can be branchy. You can multiply your filler flowers but cutting them into two. By splitting your filler into single stems you can dramatically increase the amount of filler flower you have.
Step 3: Add Half of Your Supporting Characters
Your filler flowers support your next grouping of cast members: your supporting characters. Add half of your supporting flowers all around your bouquet. While you add the flowers, turn your bouquet to make sure your flowers are balanced from all sides. This is the stage where you start to style your bouquet and create personality.
Pro Tip: If you want that “grown in the garden” look you will cut your supporting flowers at different lengths.
Step 4: Add Your Main Star
When you have about half of your supporting flowers in place, it’s time to bring in the main star. Be very conservative about cutting the stem of your main star. You don’t want to cut your stem too short and bury your main star too shallow in the bouquet. Leave your stem long and trim in small amounts until you get the perfect height. You will also want to place your main star in the foreground position of your bouquet. After all, this stem is the star of the show.
Step 5: Fill Up and Finish
After you get your main star flower in place, fill in the bouquet with the rest of your supporting flowers. Keep turning the vase and looking at the arrangement from all sides to make sure your flower stems are balanced. You may also need to trim more leaves and make minor adjustments to help the arrangement come together.
Pro Tip: Always give your arrangement a final turn and a final fluff before you finish.
When your arrangement is finished don’t forget to enjoy it over a glass of bubbly! Cheers and happy flower arranging my friends!
By: Jacqueline Person
